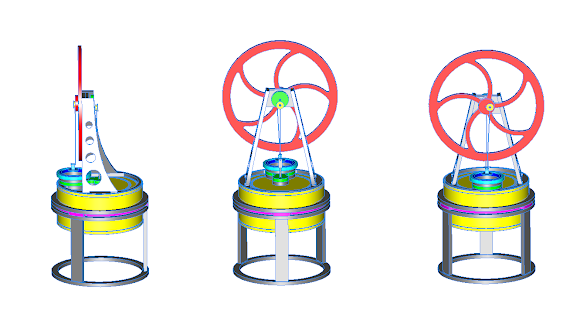
Here are a few tips to build your engine.
Laser cut parts have a slight taper on the edges. The two parts that make up the crankshaft bearing should be glued together as shown here with the larger faces on the outsides.
The top of the cans are not flat but have concentric corragations for strength. When gluing the assembled engine parts to the top can be sure to use a thick layer of epoxy to form an airtight seal to the top of the can.
To avoid getting epoxy into the displacer bush, leave it sticking out below the can as it is fitted and push it back flush after fitting. There is no need to put epoxy on the bush where it passes though the MDF base.
The heat break ring, that's the central one with 3 lobes, should be fitted so one lobe is positioned at the back of the engine. The bottom ring with the 3 slots is then fitted so the slots line up with the lobes.
Be careful not to get adhesive inside the cylinder that could prevent free movement of the dispalcer.
The length of displacer rod used should allow for equal movement above and below the centre of the cylinder, it's not too critical but make sure the displacer cannot touch the top or bottom can.
The most likley cause of not getting any movement on the displacer when the test is done as shown in the video is an air leak around the 3 rings that join the cans toether. If you have a leak it's easy fixed by locating it with the blow test shown and applying epoxy to seal it.
Ensure the canks are set 90 degrees apart as shown in the video and in the illustrations above.
I have cut the tea light wick in half and this gives plenty of heat. The engine will run until the flame goes out.
I am always available to answer any questions.
myfordboy@gmail.com


